I used to remember a time when implementing continuous delivery was not an easy task. Recently, I have found Bitbucket Pipelines an integrated CI/CD product of Atlassian. The system promises and states on their official website a “trivial configuration to set up, automating your code from test to production”, they are not lying.
I want to achieve a simple scenario - after each push to a feature branch the service restores needed packages, build the code and runs tests. From there, after the necessary pull request reviews from your fellow team members and when the branch is merged with master the service ships code to the production environments.
Bitbucket Pipelines uses docker images to run the builds and the process of configuration goes through an YAML
file bitbucket-pipelines.yml
where you can describe your needed build steps.
In this case I used it to build, test, pack and push a .NET Core NuGet package. Let me show you how.
Bitbucket-pipelines.yml configuration
image: microsoft/dotnet:sdk
pipelines:
  default:
  - step:
    name: Restore and Build
    caches:
      - dotnetcore
    script:
      - dotnet restore
      - dotnet build ${PROJECT_NAME}
  - step:
    name: Tests
    caches:
      - dotnetcore
    script:
      - dotnet test ${PROJECT_UNITTESTS_NAME}
  branches:
    master:
      - step:
        name: Pack and Push
        caches:
          - dotnetcore
        deployment: production
        script:
          - dotnet pack -c Release -v Normal
          - dotnet nuget push ${BITBUCKET_CLONE_DIR}/${PROJECT_NAME}/bin/Release/*.nupkg -s ${MYGET_URL} -k ${MYGET_APIKEY}
Add environment variables
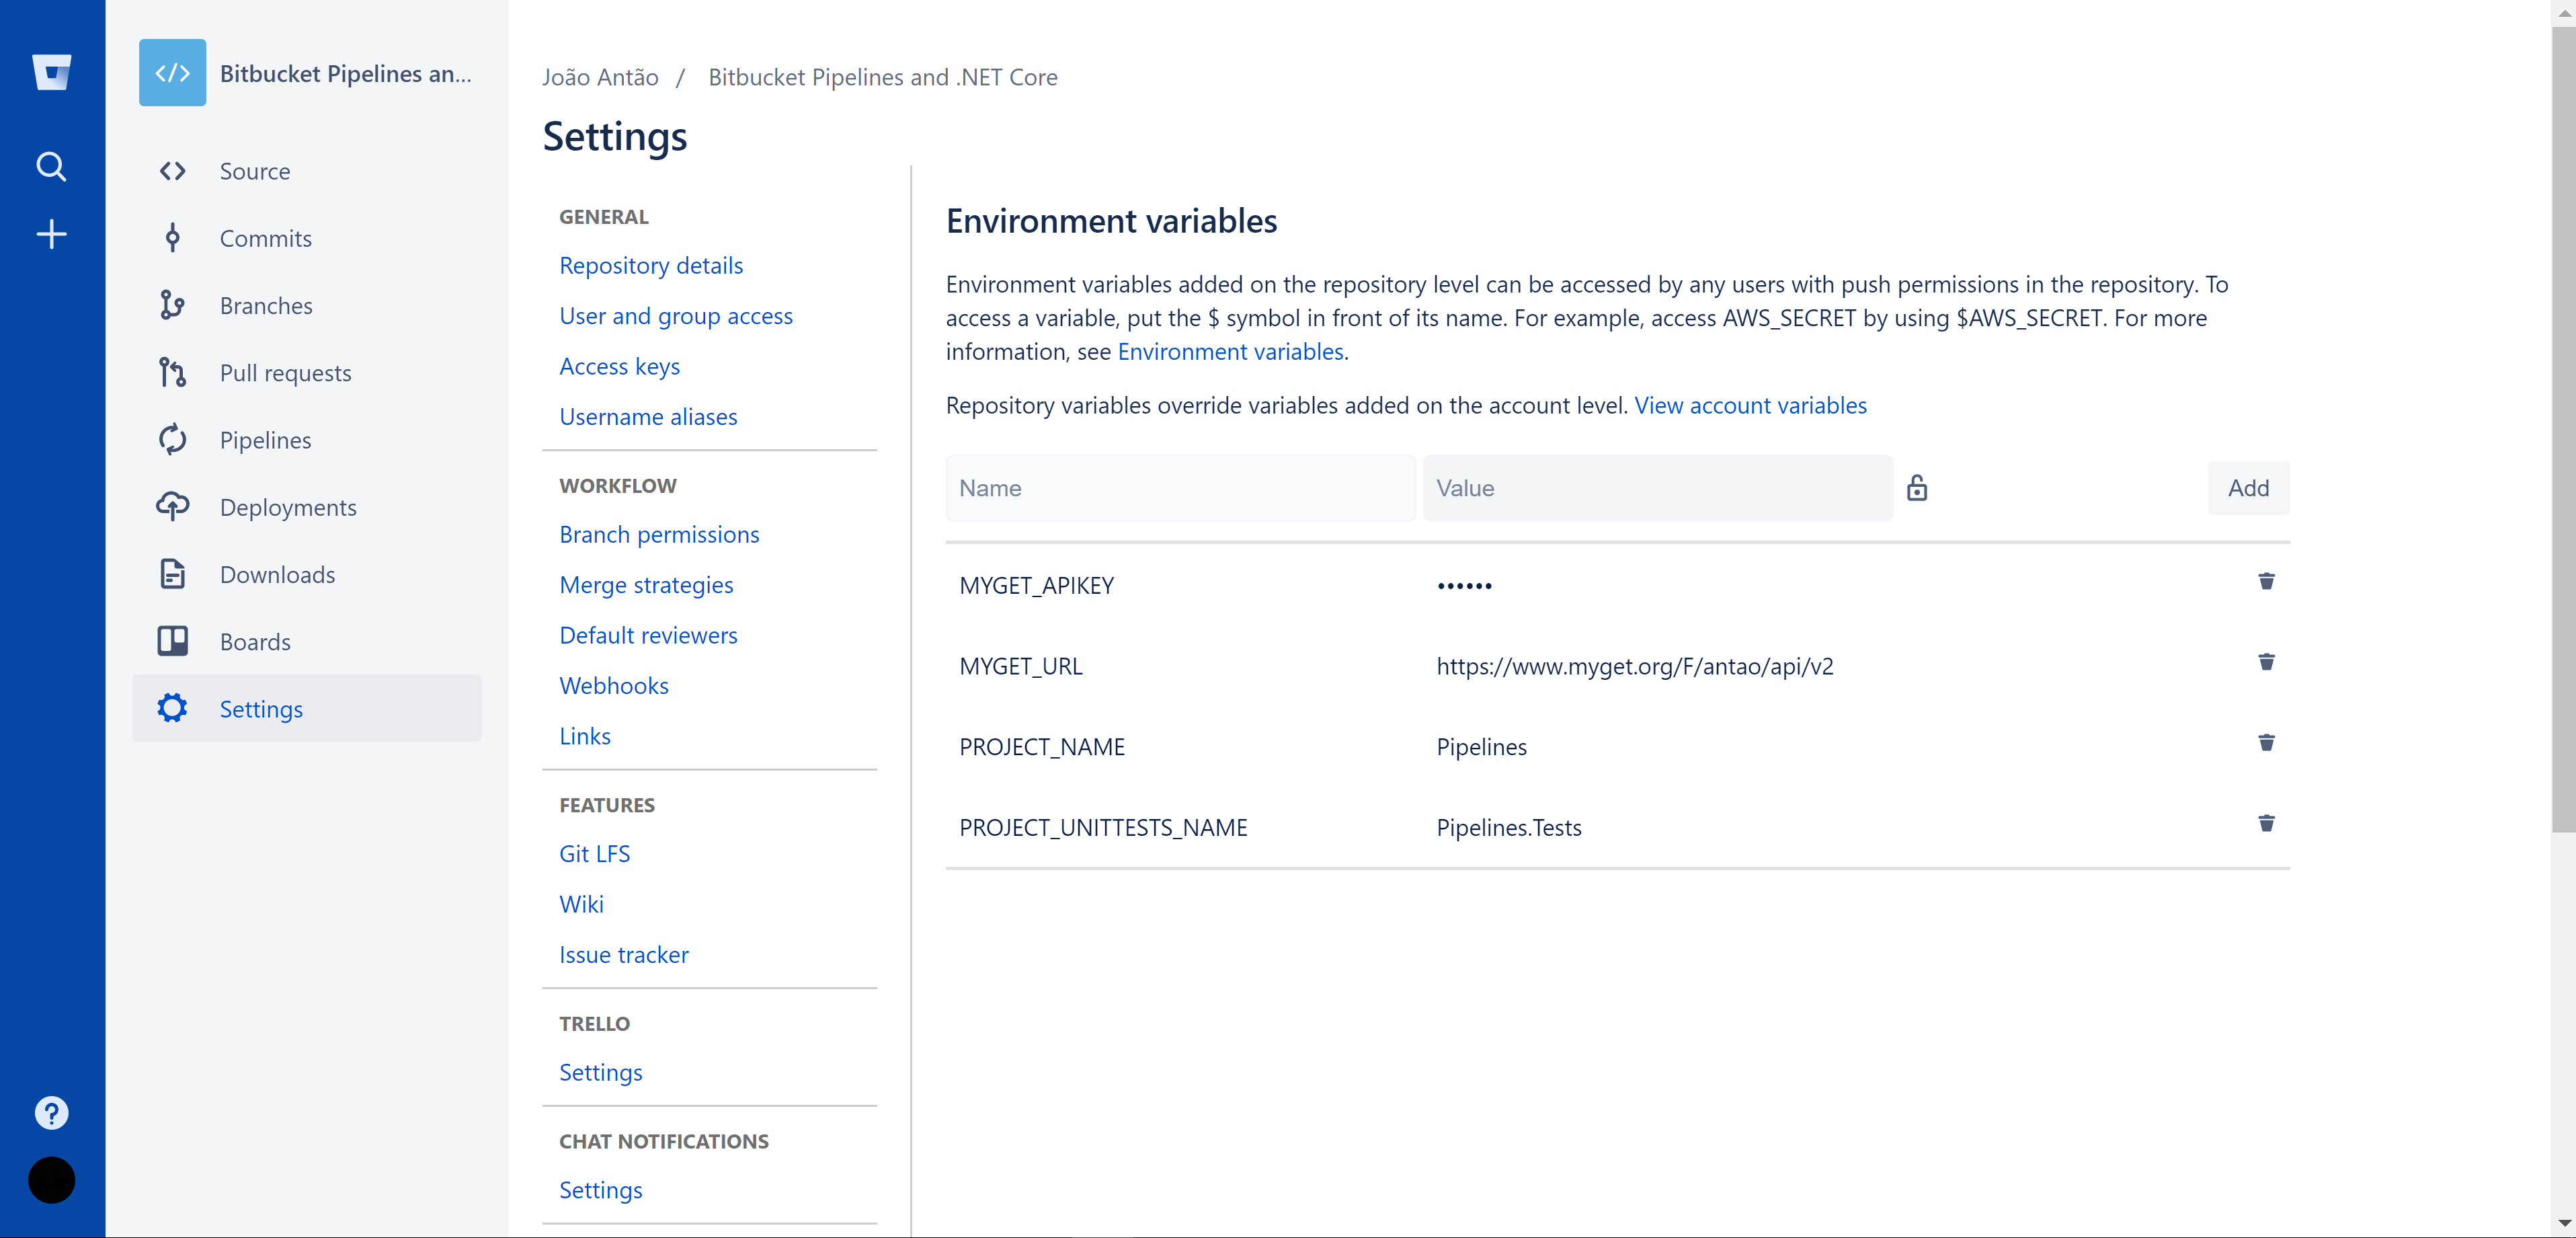
I introduced environment variables for specifying a NuGet feed URL, key and project names in my project repository, as in the image below. You can add the values needed and apply them to your configuration by opening your repository and selecting Settings -> Pipelines -> Environment Variables.

The BITBUCKET_CLONE_DIR is the directory in which the repository was initially cloned and your artefacts will be produced. There is no need to add this key to the environment variables.
Bitbucket Pipelines in action
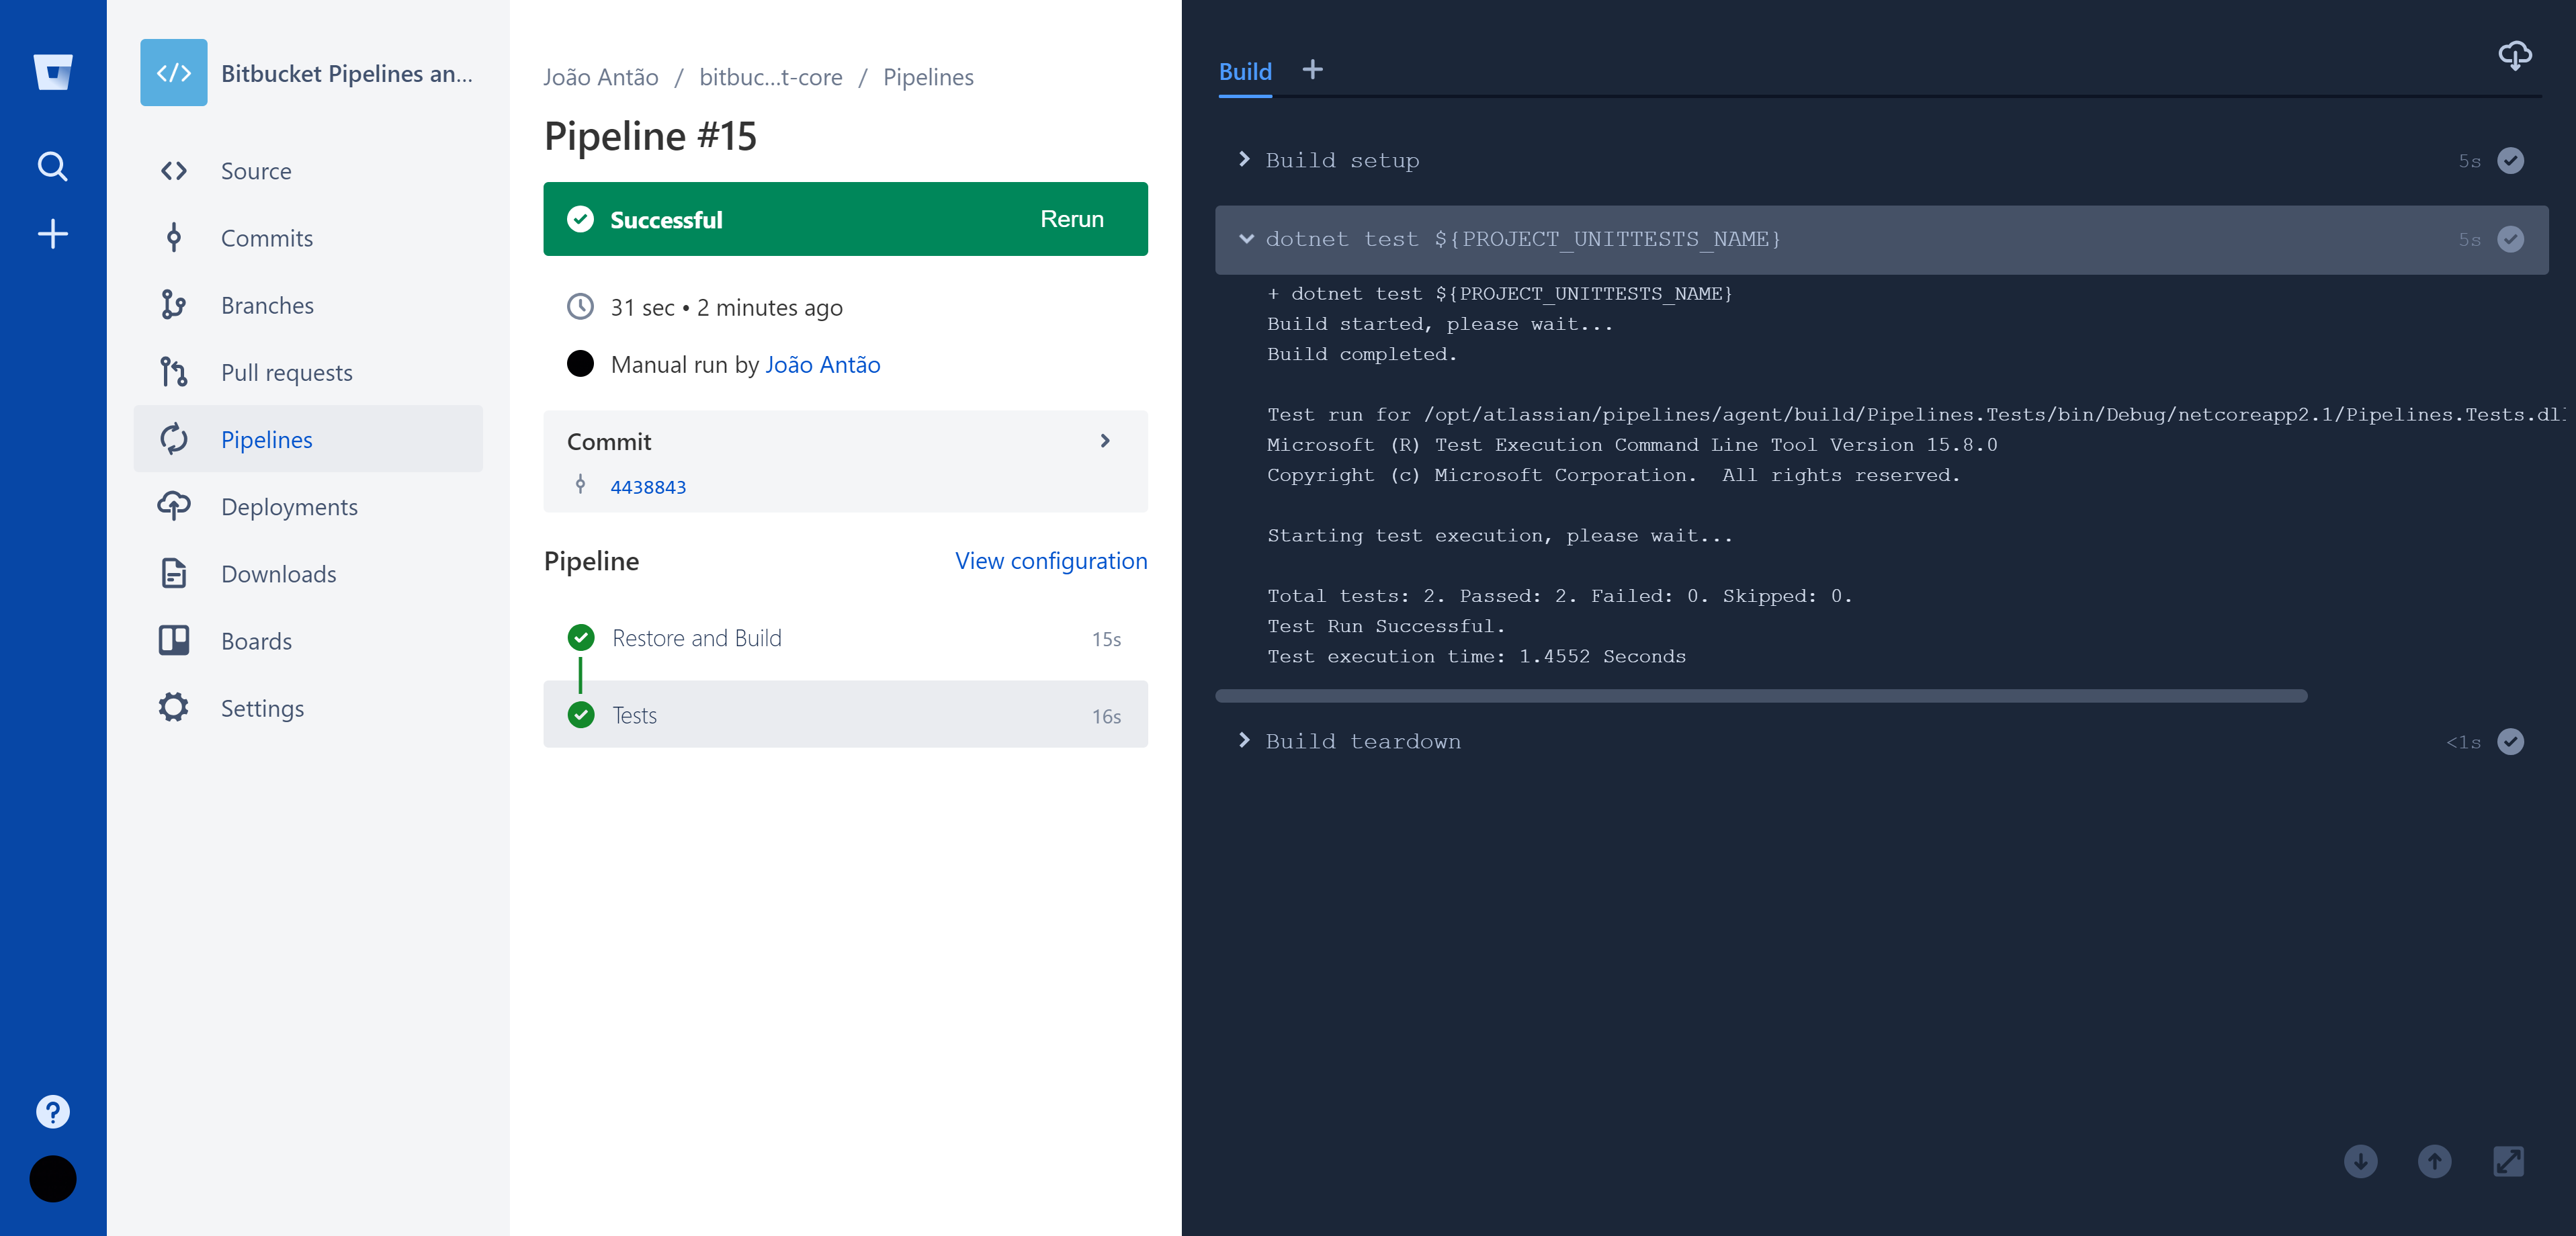
Create your feature branch, add your awesome commits and push them. Once that is done, Pipelines should start automatically creating your build, as you can see in the screenshot below.

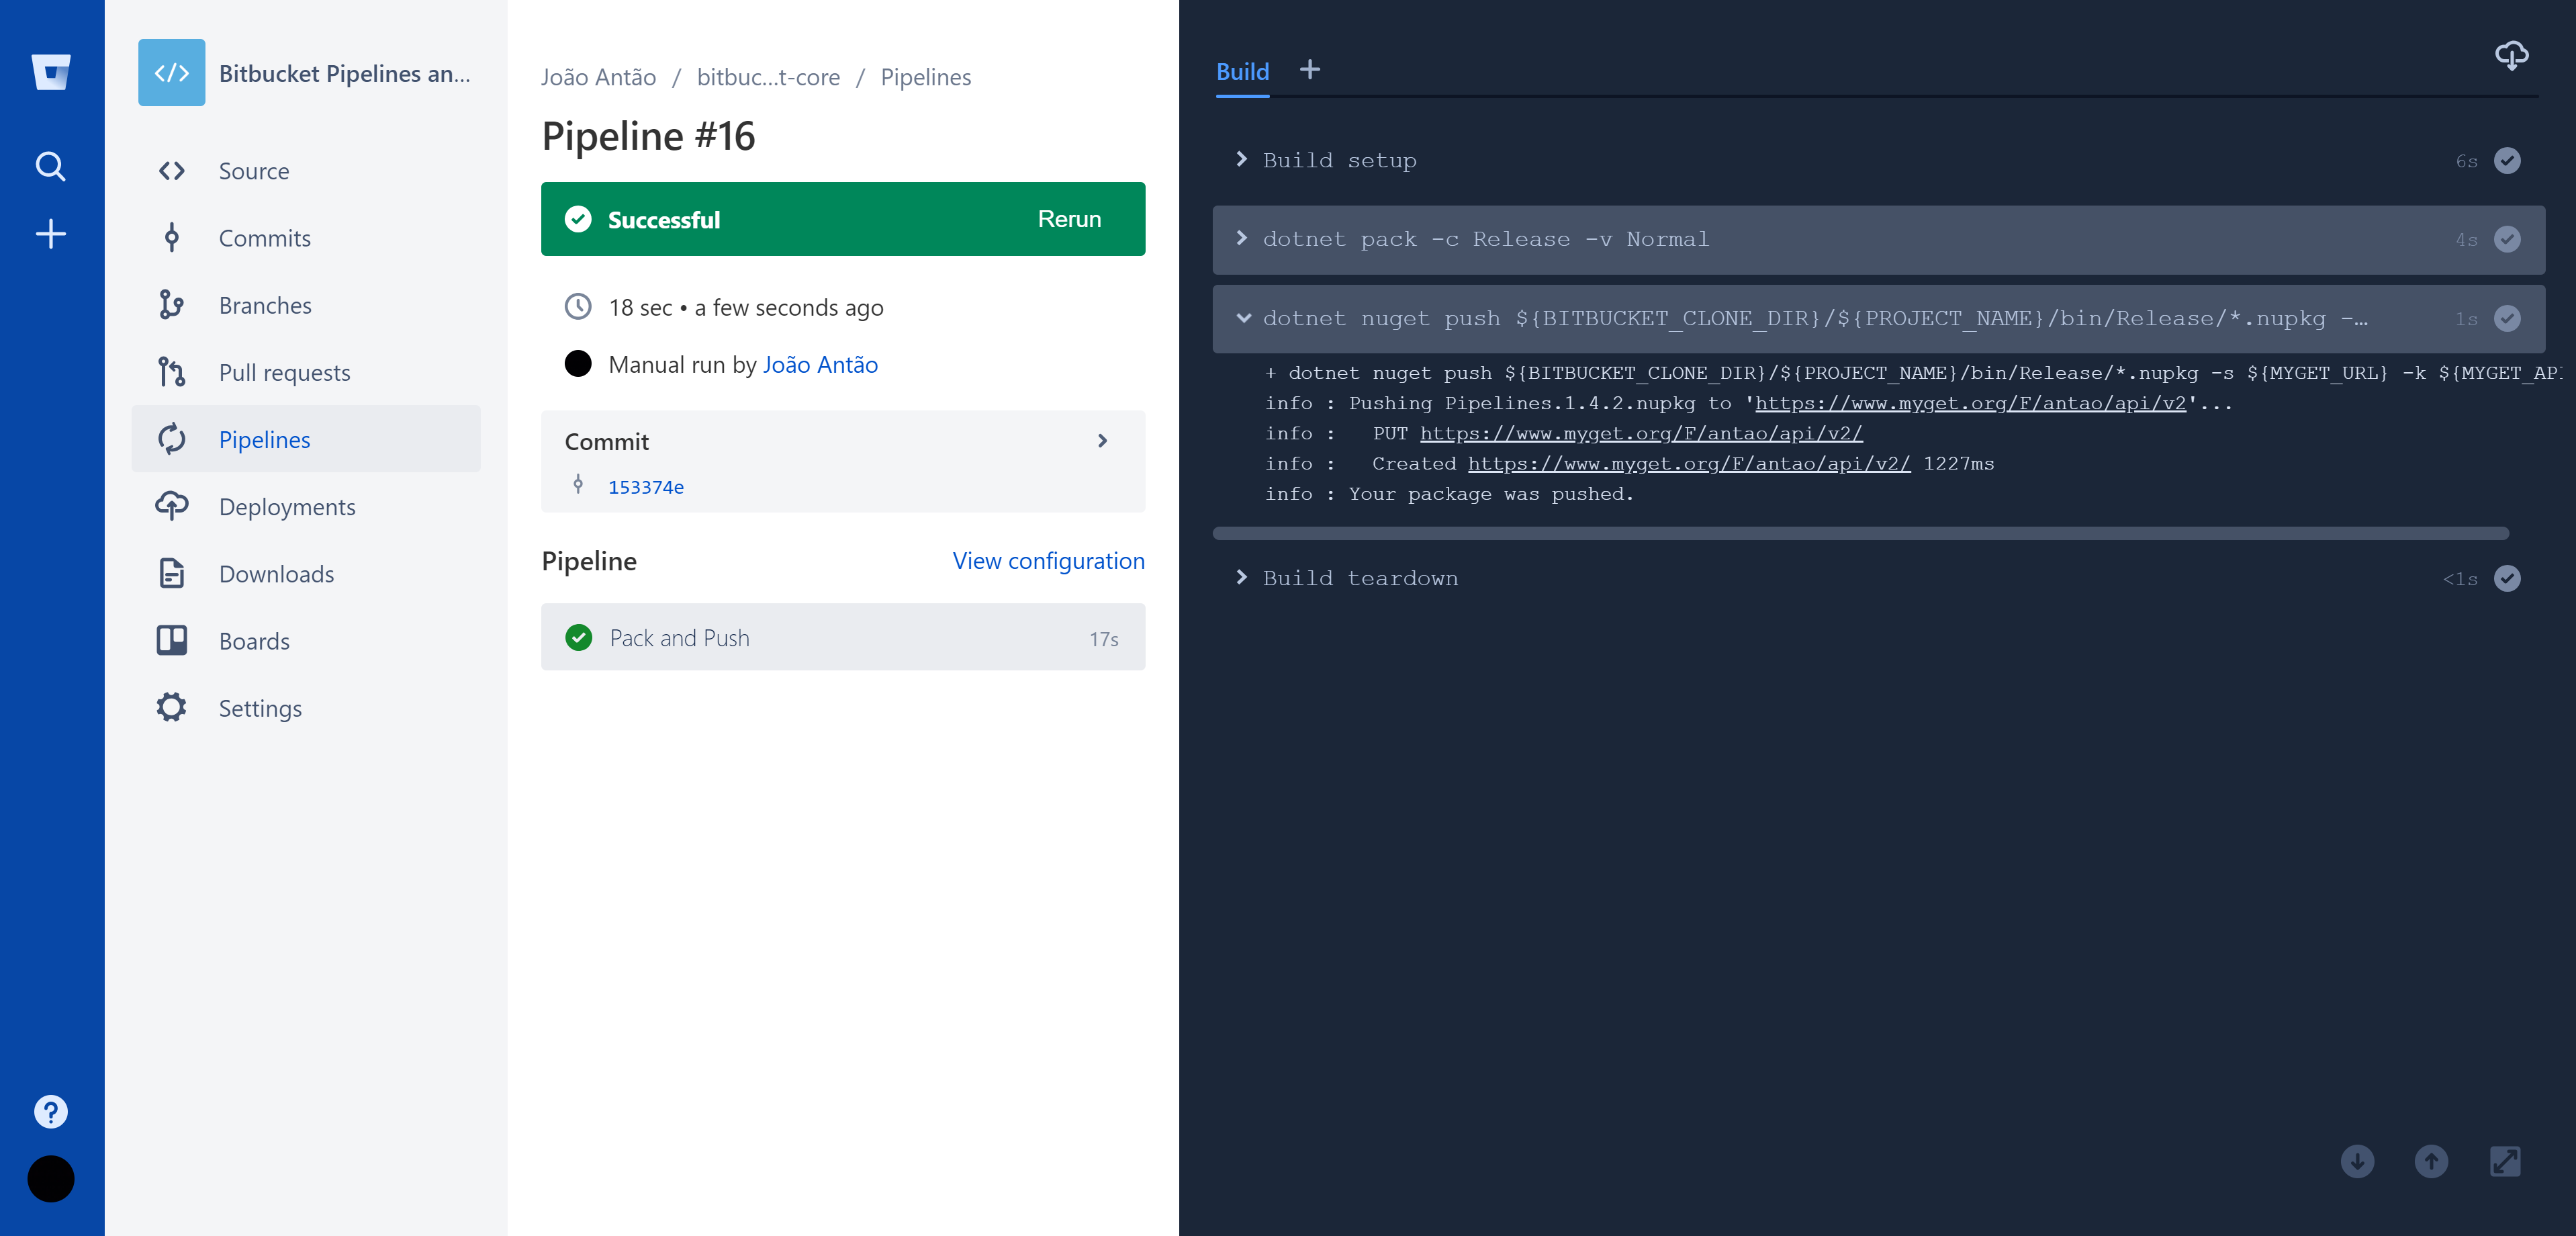
Once you merge this branch with master, pack and push commands will be executed automatically. The example library is
a simple solution. In the screenshot takes about 17 seconds for this step to execute. Because I did not specify a
version in the pack command, the package is created with the version number defined in the configuration of
your .csproj file. The push command will send the generated package to a NuGet feed. In this case I
used MyGet.

I specified deployment towards production in the master branch build step. It will enable a visual indication of what is currently shipped in the Deployments tab.

TLDR
Bitbucket Pipelines provides an easy to set up, flexible and integrated solution for CI/CD in the Atlassian ecosystem. You can use it in the cloud or on-premises with the following pricing. It does contain some limitations you should be aware of. Enables integration with AWS, Google Cloud, Kubernetes or Azure and supports repositories in many more programming languages. I’ve found great documentation support provided while writing this post.
No Git or Mercurial project repositories have been at harm while writing this post, actually they are both supported.